Tips for Better Healthcare Videos
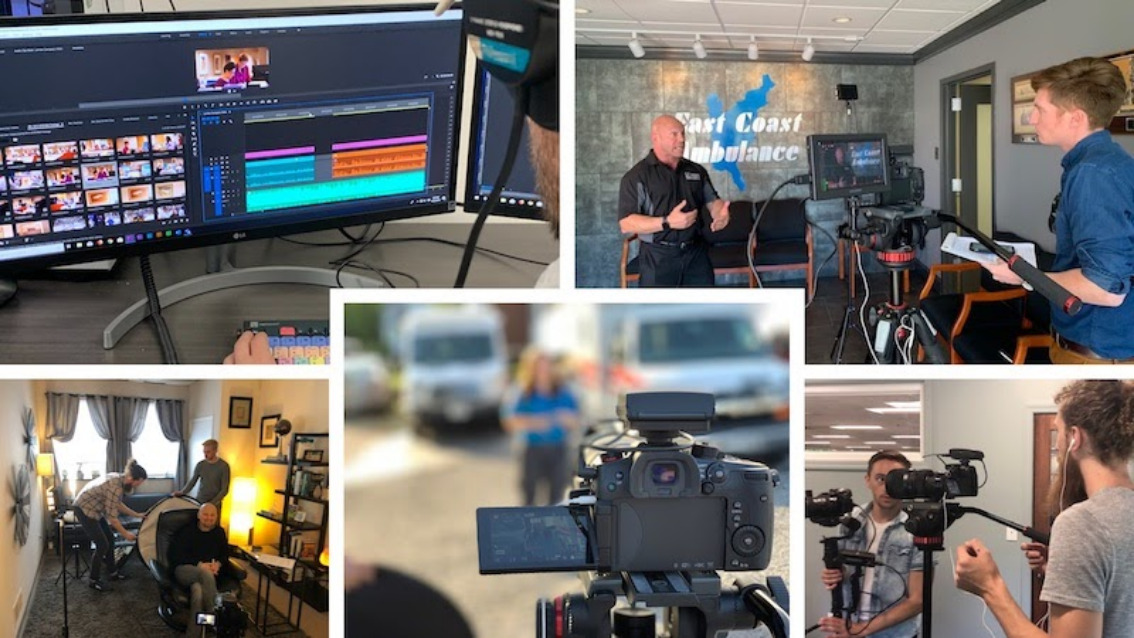
Whether it’s those heartwarming New York Prespyterian commercials, Medical Realities’ Training in 360 Degrees campaign, the Lumify ultrasound software by Phillips, all sorts of healthcare brands are creating their own high quality video content. The content is taking the form of:
- Patient success stories
- Doctor spotlights
- Recruitment and training pieces
- Answering common questions
- And a lot more
And the trend only seems to be growing.
If you’re in the healthcare industry and you’re looking to grow your business, consider video as an affordable and potentially high-ROI option. A minimal investment now could position you for lots of growth in the future. This type of strategy can be great for urgent care facilities, spinal clinics, psychotherapists, pain management firms, physical therapy centers, ambulance companies, hospital systems, and much more.
High quality video can not only help bring in new customers and patients, but it can also help convert more of your existing traffic as well. It can boost your SEO, provide a better user experience, and just generally elevate your brand.
With all that said, we figured we could dissect a great healthcare video and provide some tips and knowledge into what goes into everything. Let’s get right into it.
Lighting
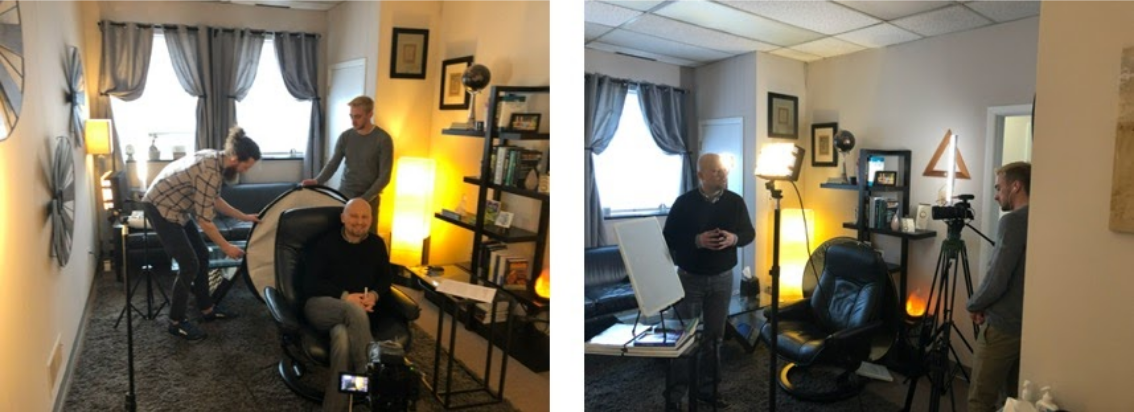
Getting your lighting for your interviews and your clips exactly right can be tough --- but following a few key principals can turn your footage from “amateur hour” to “production studio.”
- Use natural light when possible
- Backlight your subject
- Leverage the golden hour (one hour before sunset) --- but don’t limit yourself to just then
- Avoid filming outside at high noon
- Test different settings in your room (lights on, lights off, some on, some off, etc.).
- Try to create contrast on your subject --- light areas and dark areas --- whether that’s on their face or in the background.
Remember, practice makes perfect --- so try it out before you get everyone together if possible.
If your lighting is too harsh, try to turn it away from your subject. Bounce it off of a wall or a ceiling or feed the light in from a different direction. You don’t want your subject to look like they’re getting hit with a floodlight.
Sound
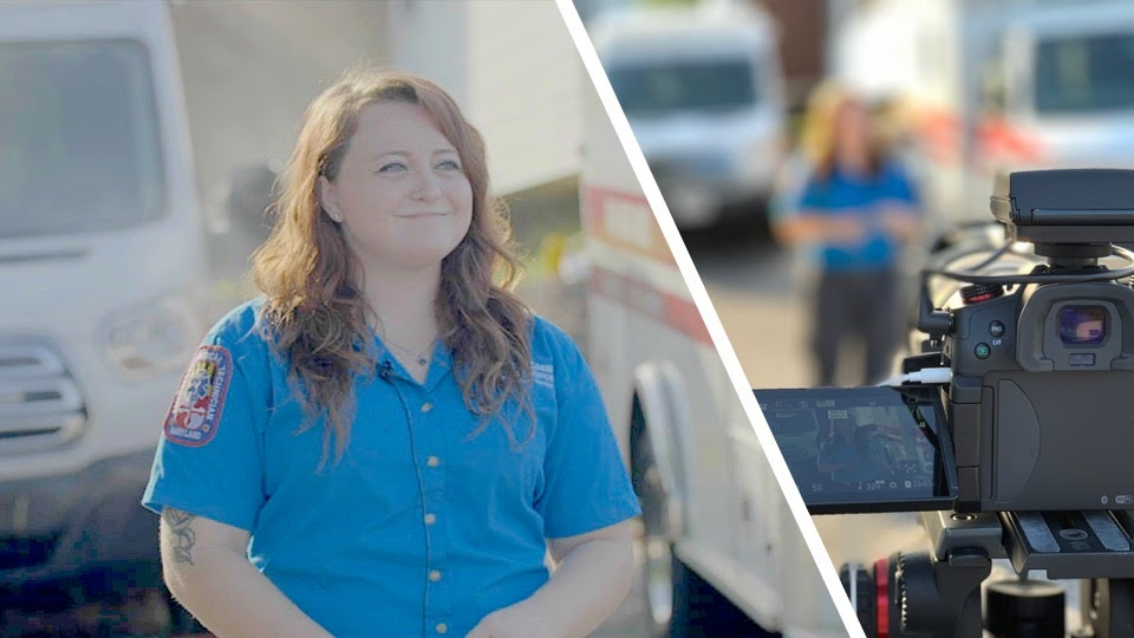
Similar to lighting, the quality of the sound in your video can mean the difference between a smash hit and a train wreck. So try to do the following.
- Always test your microphones ahead of time.
- Always bring a pair of headphones with you.
- Pay attention to the decibel levels on your camera. You can always bring them up in post-production, but you can’t bring them back down.
- Use high quality lapel mics.
- Use appropriate levels for voice and music.
- If you don’t have a lapel mic, use a shotgun mic if possible.
- If you’re on an iPhone or something with a bad microphone, try to get as quiet of a surrounding as possible.
- Pay attention to the background/environmental noises that you don’t want included. The worse mic you have, the harder it will be to remove background noise.
- Make sure someone is listening to the audio during your interview. Watch out for hiccups or loose connections.
- Say you have an air conditioner that you can’t shut off. Let the camera run in complete silence and just record the ambient noise for about ten to fifteen seconds before you start recording the interview. That way, you can isolate the sound in post-production and remove it using a tool like Audacity.
Scheduling & Coordination
Make sure that you leave ample time to get everything done. Especially with doctors and healthcare professionals being so busy, it’s crucial to get the small stuff done ahead of time to not waste any of their time. Also, make sure that you schedule your patients ahead of time to do testimonials. Give them an idea of how long it might take and compensate them if necessary. The last thing you want is to have to cut out potentially great elements of your video for a lack of time to complete everything.
If you need to, spread your shoot over multiple days. This can make it a bit more costly, but you’ll often end up with better results. This way, you can collect any shots or b-roll you may have missed, and you can get additional footage based on what you already have.
Brainstorming Topics
Try to have a good understanding of what kinds of videos you want to have ahead of time. Don’t go into it blind. Brainstorm the topics ahead of time. Are they heartfelt testimonials? Meet the doctors? Tips for the patients? Understand your topics and how they fit in with your broader business goals. What sort of content do we need? You don’t have to have the whole shoot storyboarded, but being prepared will be a major help.
Asking the Right Questions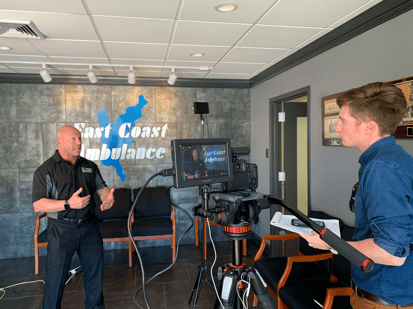
When you’re interviewing your subjects, make sure to create a list of questions ahead of time. This will allow you to keep the conversation on track.
But at the same time, if an interesting topic comes up, it’s ok to veer off a little bit and ask impromptu follow-ups. You never know exactly what might come up and sometimes these moments make for the best part of the video.
Telling Compelling Stories
Making that human connection is key. If possible, tell a few different stories to connect with different audience demographics. You want your viewer to connect emotionally with the content on screen --- so try to elicit real emotion. That’s what people will remember the most. And videos that contain emotion and authenticity will do so much more than a scripted piece.
Getting Great B-roll
 Shoot your b-roll after you shoot your interviews. This way, you’ll know what specifically to focus on. If your subject mentions specific things, you can show them on screen and know to make them clearly visible in the shots. Doing it this way removes a lot of the guesswork and will make for a more compelling piece.
Using Multiple Cameras
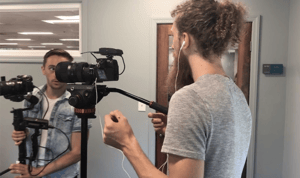 You can get by with just one, but we highly recommend shooting your interviews with multiple cameras. This way you’ll have multiple shots to choose from, you can cut in for dramatic effect, you can also film an interviewer if you’d like, and you just generally have much more versatility using two cameras.
Watching All of Your Footage
Now that you’ve done your shooting, the real fun begins. Take some time and watch through everything. Don’t worry about your video timeline yet, you just want to get an idea of what you have all together. Highlight interesting parts and keep them saved in a super organized folder. You can even categorize them based on subject matter, specific people, tone, etc. Once you have everything watched and organized, you’ll be ready to move on to an even more fun step.
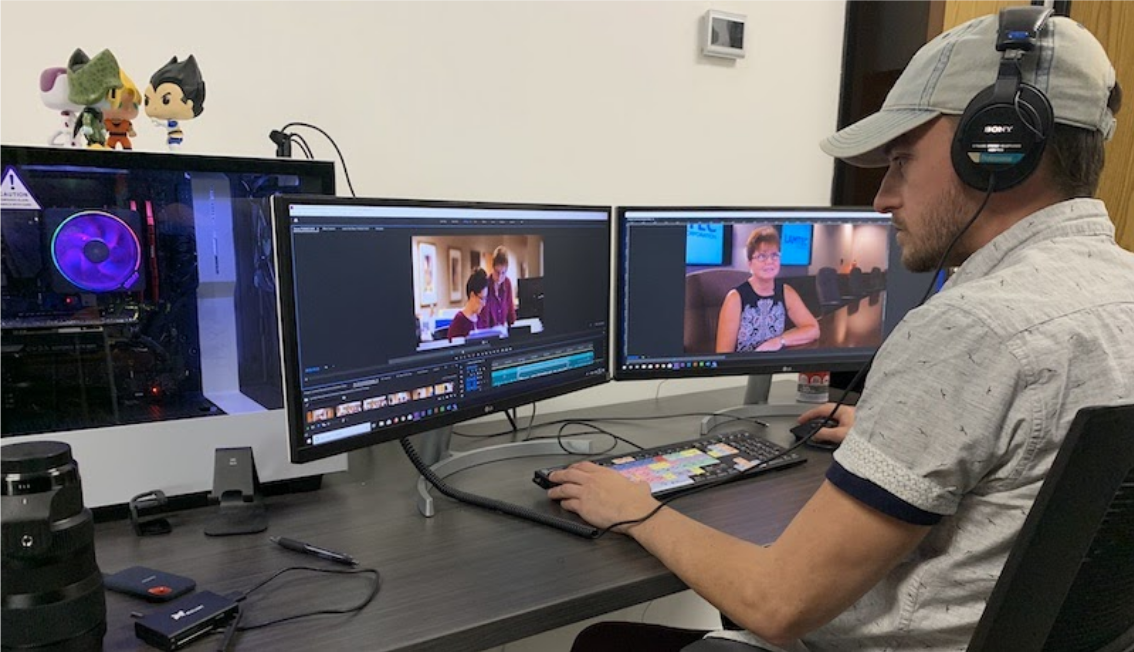
Editing Your Clips Together
Get your music/soundtrack together. Make sure that it fits the tone --- somber, serious, happy, upbeat, etc. Find a few tracks that you like. Then start editing the footage along with your soundtrack. This might help with getting a feel for what your footage looks like over the music. If it makes sense and it flows, then keep going.
Look for good ending shots and good beginning shots. Once you have those, you can sort of fill in the blanks.
A good ending shot might be a goodbye or a sendoff or a recap of what happened. A beginning shot might involve something abstract or ambiguous or small --- start small and grow bigger. Or, you can start big and begin with a drone shot or a wide shot etc.
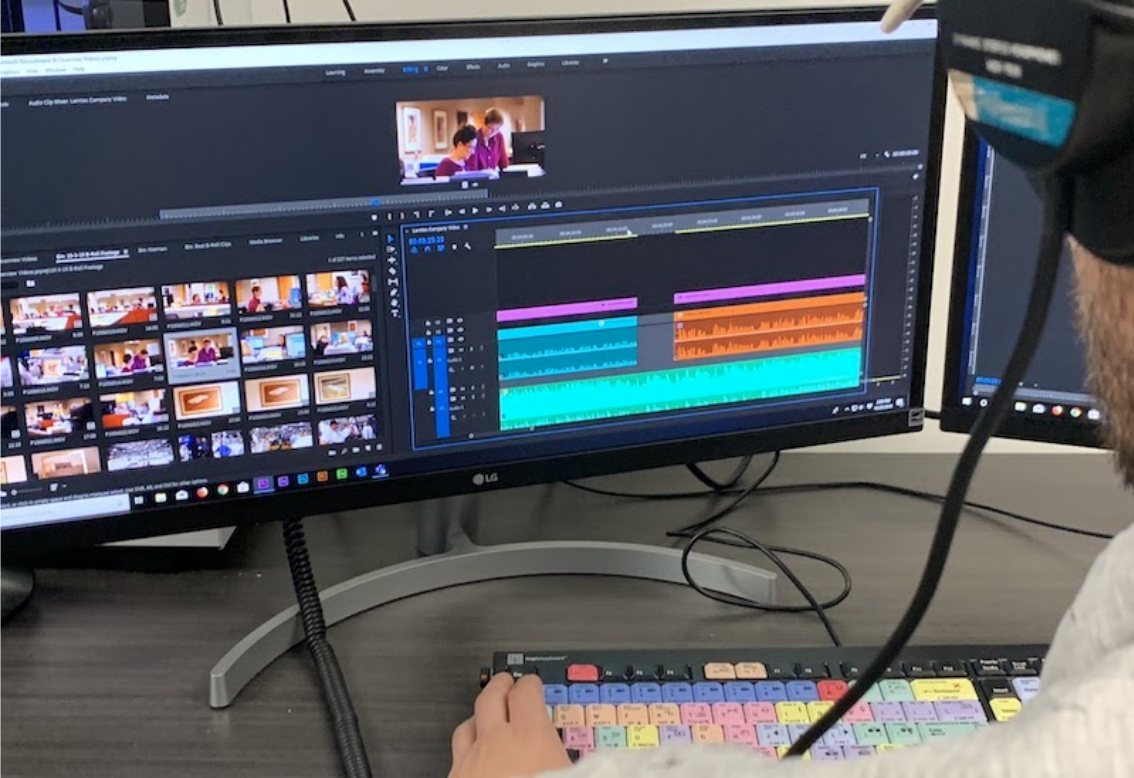
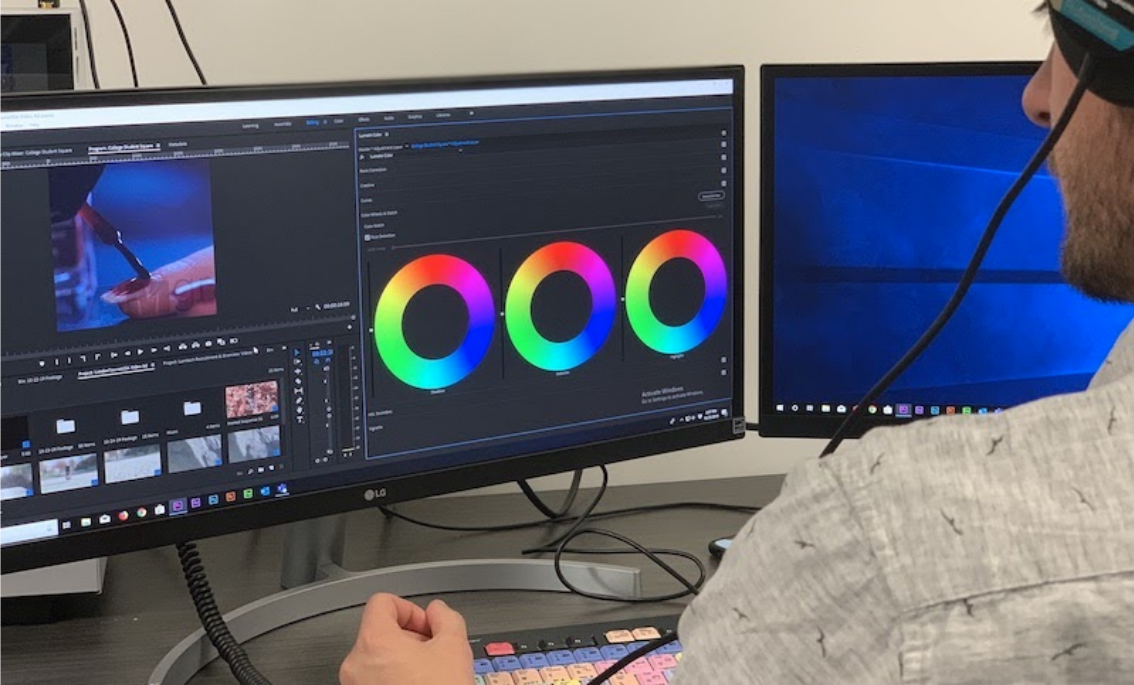
Color Correction
Color correction is another one of those things that can just elevate your project. Going from dull and muted colors to bright and rich will transform your video into something professional.
Using the standard color on your phone or your camera should be fine --- but --- if your white balance was not set correctly when shooting --- if your footage looks a little blue or a little orange, you can change those values in post production.
If you’re shooting in a flat, raw format, you can find resources online to pull different LUTs to “grade” your footage.
Distributing On-site
Make sure to leverage your video content on your website. Use it on different pages throughout depending on where it makes sense. Have your meet the doctors content on your about us page, sprinkle your patient testimonial videos throughout, and embed your topic-specific videos on related blog posts. You went through all this trouble to create your videos, so you might as well make the most of them.
Distributing on Social Media
Now that you’ve put the videos onto your website --- you want to use them on social media as well. Depending on what channels you use the most, you may want to cut them down into shorter clips (for example, to post onto Instagram).
Don’t be afraid of sharing your content. Chop it up, remix it, repurpose it, and generally do whatever you can to make the most of it. You can even use still images or screenshots taken from the video. This type of authentic video content is perfect for your social channels. Rather than fill up your page with stock images and random platitudes, you can show off real people and real results. And that’s what a successful social strategy is really all about.
Creating a Content Calendar
Once you’ve done an initial shoot and created your first round of videos, or actually before that, you should really create a content calendar. This will allow you to stay on track, tackle all the right types of videos, plan ahead for the next quarter, keep everyone on your team on the same page, and just generally keep you as organized as possible. Know that you’re going to do some winter weather tips in late fall, try holiday vacation tips in the summer, etc. Do whatever makes the most sense, but make sure to write it out in a calendar. You will end up thanking yourself later.
Getting Started on YouTube
You don’t always need to do this right away. But if you’ve decided to commit to video, we definitely recommend building a YouTube channel. It’s the perfect place to store your new video content, and it can be a great new avenue for you as well. There are a few steps to setting up the channel including choosing your URL, setting your company description, adding your other social media links, and beginning to upload your videos. Once you are ready to put videos in, always remember to include original descriptions of up to 300 words, along with lots of good keyword tags that make sense.
Once you get a bit more advanced, you can start using tools like VidIQ to to YouTube keyword research, get ideas for new topics, optimize around certain search terms and more.

So there you have it. Hopefully this has brought you at least somewhat up-to-speed on how to create great healthcare videos. The main takeaway is this. Making great video doesn’t have to be prohibitively expensive. With the right team and the right people in place, it can get done affordably, on time and under-budget.
Thinking of giving video a try for your healthcare business? You’ve come to the right place.
Let the experts at JAM show you how to get it done.
Recent Articles
Why your website can't be an online brochure
Way too many business owners think they can get away with using the content of their brochures to...
Why Content Marketing is the New SEO
(or how the two go hand-in-hand)
We get a lot of questions from clients requesting help with SEO....

